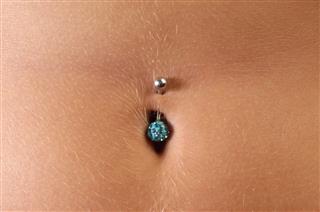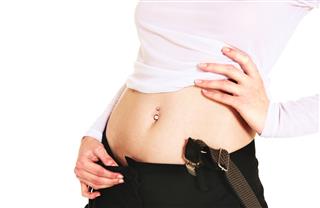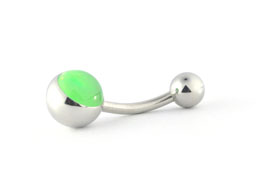
Getting your navel pierced is only the first step, the aftercare and healing of the piercing that follows are equally (if not more) important steps that need to be considered. Let’s get you the details of the same.
‘Navel piercings are not for the weak hearted.’ This senior of mine at school used to say. Maybe not. But then who can deny the fact that they are hot! And anyone wanting to add that extra oomph factor to their style can go in for a piercing on the navel any day. Of course, it is not necessary that body piercings will suit everyone, and yes, one needs this certain air of confidence to carry it off. (If one wants to show it off, that is. Otherwise, if it is for more personal reasons that one wants to get a piercing done, hey, what’s stopping you?) Anyway, debating whether to do or not to do is something I cannot help you with. What I can help you with instead, is helping you understand the process that is involved in the healing. That, and the time that it takes. ‘Cause if you’re scared of what it involves, what it might do to you, and more such doubts that run on the same lines, then having a thorough knowledge of the duration and details of navel piercing healing becomes important.
Stages of Healing
Stage One
You need to be really careful in this stage and let the healing of the navel piercing happen by itself.
What to Expect in this Stage
- Right after you get your belly button piercing, the skin around the belly button will become red, swollen and itchy.
- There will also be a mild form of discharge that is either white or light yellow in color. This is a natural process of the healing and should not be taken as an infection. It is in fact a way of pushing out the bacteria from the body.
- Soon, a scab will start to form around the area which will stop the blood from oozing out and thereby protecting the wound.
Aftercare
- For proper aftercare, wash the area around the piercing with an anti-bacterial soap and water and use salt water on that area at least thrice a day.
- Do not use any cosmetic products like moisturizer or perfumes near the area.
- Do NOT play with the piercing. This will tamper with the natural healing and could lead to an infection.
- Do not change the piercing till after it has healed.
- Do not wear tight fitting clothes or clothes that could get stuck in the piercing and therefore pull on it or cause aggravation.
- Do not expose the piercing to dirt, and as far as possible, prevent the sweat from collecting in that area. In that way, avoid heavy exercises or wearing clothes that make you especially sweat.
Stage Two
This stage will see the healing starting to get well underway.
What to Expect in this Stage
- The scab that had formed in the first stage will fall off and give rise to new skin.
- The new skin is very tender and will slowly start to gain thickness.
Aftercare
- Continue to care for the skin as you did in the initial stages.
- Clean it regularly.
- For some, the healing will have come well underway such that they can even change their piercing. But not everyone can. It depends on the amount of healing that has happened. Either way, do not attempt to change the piercing by yourself. Always consult the piercing artist before getting it done.
Stage Three
This is the final stage of the healing process. The entire process will take about 4 – 6 months for most, whereas for some others it could even take up to a year for healing.
What to Expect in this Stage
- The skin around the piercing will heal completely and gain all the features of normal skin.
- There are chances that if you remove the piercing at this stage and do not replace it with another one, the piercing will close up all together.
General Healing Tips
- Other than following the aftercare regime of cleaning the piercing, it is also important to keep it dry.
- Make sure that you use a paper towel and not cloth to dry the area because there are chances that a cloth can cause an infection by transferring bacteria to the wound.
- Avoid swimming as far as possible.
- Make sure that you do not wear pants that have a high waist so that it does not lead to any rubbing and cause an injury.
- Make sure that you give the process of healing enough time. Do not change the jewelry without it healing properly.
Points to Consider
- While a navel piercing is generally a safe bet, one needs to know that there are times when the body might reject the piercing.
- This can happen if one has high diabetes or certain other health conditions.
- In such a case, the body will reject the piercing by setting on a migration (the piercing will move from its original place and might or might not cause pain and scarring).
- It is important that you consult a physician to rule out any risks that might stem from health conditions before getting the piercing.
- A navel piercing requires a longer period of time to heal than most other piercings (4 months to a year). So make sure that you have considered this as well as understood the dangers and risks of this form of piercing completely before getting one.
- Undertake a detailed research of the varied piercing parlors that you’re considering for getting the piercing
- If possible, visit the parlor personally and get all your doubts cleared by talking to the person who will be handling your piercing.
- Make sure that it is a reputed and hygienic place, and if possible, get in touch with the people who have already had a navel piercing done as well so that you can get personalized information.
Granted that the healing process in case of this particular piercing is a little more complicated than say, a nose piercing, but is it not totally worth the trouble? Can you imagine the scene now? You strutting down a boulevard with a high midriff top, a belly button ring that catches the glint of the sun…and of course, bikes crashing into the background (hey, it’s your dream.. so you dream whatever you want to!). And yet, you carry on with that wa-wa-woom thing going. What do you know…you’ll be the thing with the navel ring!
